Free printable practice
Light Rays Practice Activities
Printable Class 1 Science and EVS activities that help children notice how light travels from a source and represent simple light rays with arrows.
Practice that builds confidence
What children learn about light rays
These Class 1 light rays worksheets help children understand that light comes from a source and travels outward. Pupils practise looking at simple pictures, spotting where light begins, and showing the direction of light using lines and arrows.
The printable activities include tracing rays, drawing rays from lamps or the Sun, matching objects to light sources, and observing everyday scenes. They build early Science and EVS vocabulary in the Energy, Sound and Light topic without making the concept too abstract.
At this level, a light ray is introduced as a simple way to show the path of light. Children do not need advanced physics; they need to see that light starts from a source such as the Sun, a bulb, a torch, or a candle, and moves away from it. Arrows are useful because they show direction clearly.

Skill progression in the worksheets
The practice moves from recognition to representation. A child may first circle the object that gives light, then trace ready-made rays, then draw rays from a source to nearby objects. Some tasks ask pupils to compare bright and dark parts of a picture, helping them connect rays with what can be seen.
Parent routine for home practice
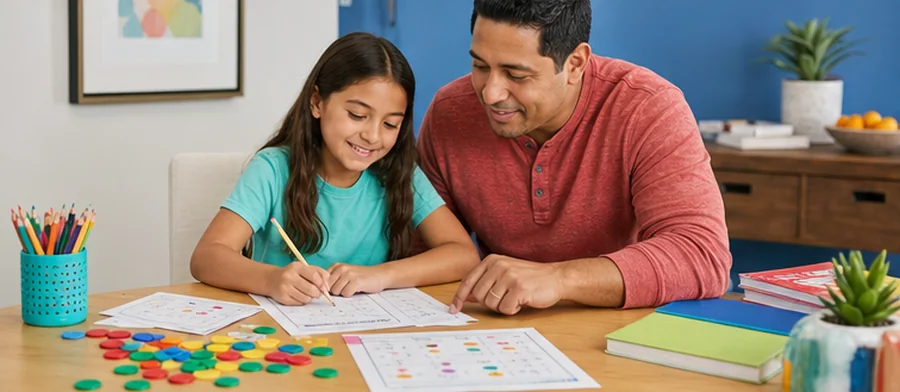
At home, use one real object before the worksheet. Switch on a torch and ask, Where does the light start? Which way is it going? Then let your child point with a finger in the same direction before drawing arrows on the page. Keep the language simple: source, light, ray, direction, bright, and dark.
Classroom uses for teachers
Teachers can use these pages during an Energy, Sound and Light lesson, as a science notebook task, or as a quick centre activity. They also work well after a demonstration with a window, classroom light, or torch. For group work, ask children to explain why their arrows begin at the light source rather than at the object being lit.

Common errors to watch for
Some children draw rays towards the bulb instead of away from it. Others place rays randomly around the page or confuse a shiny object with a light source. Gently ask, Is this object making light or only getting light? This question helps pupils separate sources from objects that are simply visible.
Free printable PDF download
Use this class 1 light rays worksheet page to preview the activity, print it, or download it as a PDF for quick practice. It works well for homework, homeschool lessons, tutoring, morning work, revision, and classroom centers.
Answers and answer key support
After the child completes the worksheet independently, parents and teachers can use the answer support or answer key information to check the work, review mistakes, and choose the next practice step.
Why iBloom worksheets help
The activities use familiar Class 1 scenes and clear visuals so children can focus on one idea at a time. A child-friendly strategy is: find the light source, put your pencil there, draw a straight line out, and add an arrow. This makes an invisible path easier to understand.
Helpful answers
Frequently asked questions
What is a light ray for Class 1 children?
For Class 1, a light ray can be explained as a line that shows where light travels from a source. Children usually show it with a straight line and an arrow.
Which light sources are suitable for these worksheets?
Simple examples such as the Sun, a bulb, a torch, and a candle are suitable because children can easily recognise that these objects give out light.
Should children draw perfectly straight rays?
They should try to draw neat straight lines, but the main goal is understanding direction. The arrow should begin at the light source and point away from it.
How can I explain light rays at home without special materials?
Use a torch or switch on a lamp. Ask your child to point from the light source towards the wall or an object, then draw the same direction as an arrow on the worksheet.
What mistake should I correct first?
Correct the direction of the ray first. If a child draws arrows going into the bulb or Sun, remind them that the light starts there and travels outward.
Is this class 1 light rays worksheet free?
Yes. You can preview it for free and use the printable worksheet for home or classroom practice.
Can I download this class 1 light rays worksheet as a PDF?
Yes. Use the worksheet download option to save a printable PDF, or print the worksheet directly from the page.
Does this class 1 light rays worksheet include answers or an answer key?
When the activity has fixed answers, iBloom includes answer support so parents and teachers can check the completed worksheet.